

vPlan has the option of adding and completing checklists within a card. This makes the execution of work even more efficient!
To use the Checklists functionality, it must be set up in your board by an administrator. You can read how this works at: Plan Board: Setting up checklists
When checklists are set up, you can easily use them in a board. This article is divided into the following sections:
1. Selecting a standard checklist in a card
2. Creating your own checklist a card
3. Checklist menu options
4. Add checklist in list view.
1. Selecting a standard checklist in the chart:
If you or your administrator have set up predefined checklists in the configuration of your plan, then you only need to select them in your card to use them immediately!
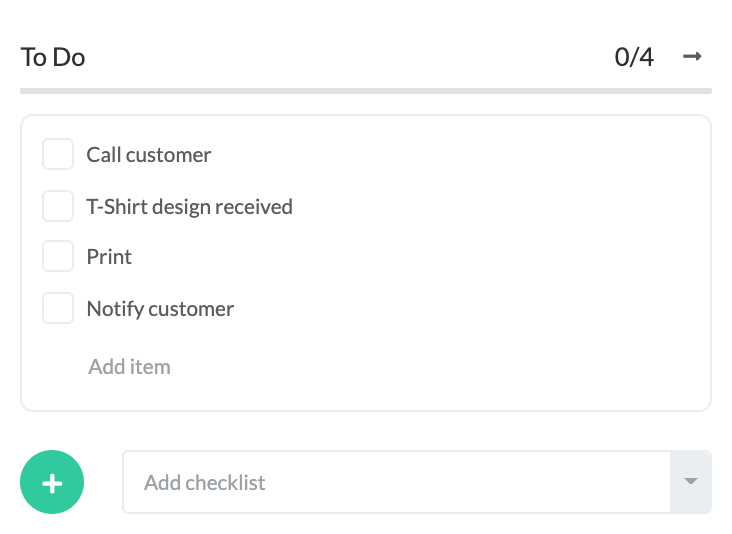
1. Open a card in your planning.
2. Make sure that the Show checklist bubble is on at the top in your card preferences:![]()
3. You will now see a selection menu appear at the bottom of your vPlan card. When you open it you will see which checklists are available to you.
4. Choose a checklist to use
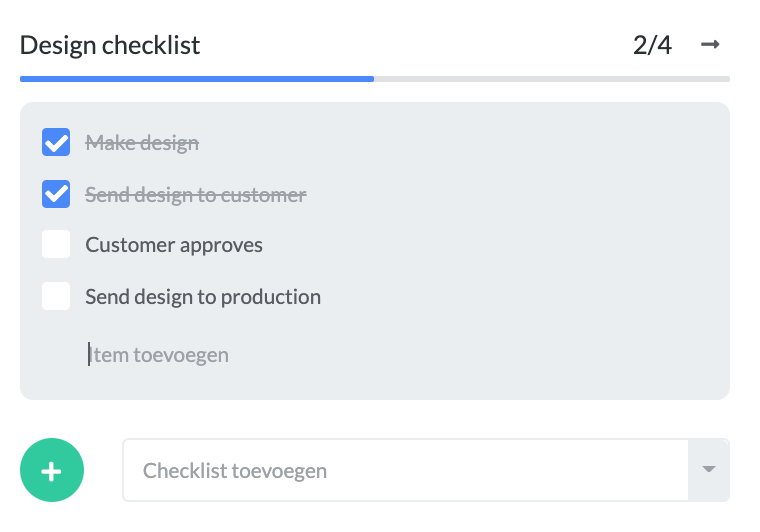
5. Check what you have done and fill the progress bar.
Tip: If you move your mouse to the arrow in the top right corner, a menu of your checklist will open. The various menu options are explained at the bottom of this article.
Tip: If your administrator has indicated that a checklist may be modified, you can add rules to the checklist yourself by clicking on Add item.
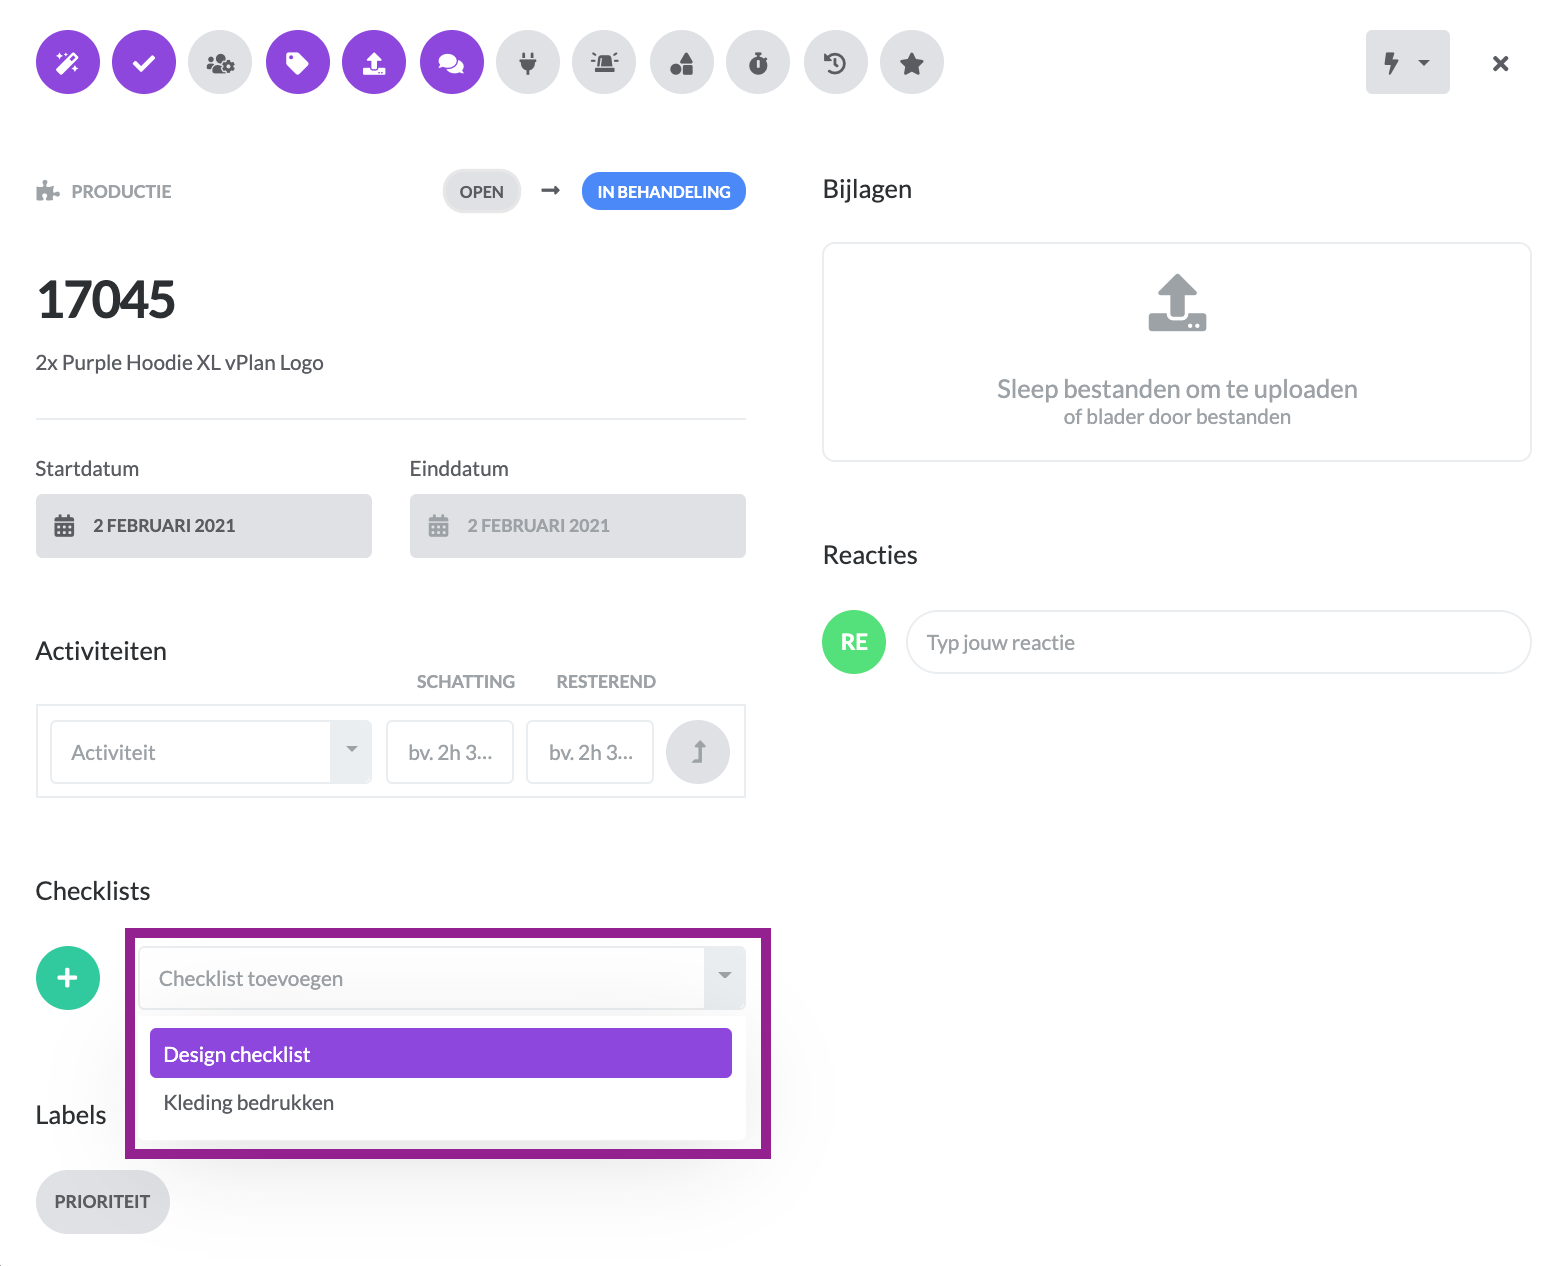
2. Creating your own checklist a card:
1. Open a card in your planning.
2. Make sure the Show checklist bubble is on at the top of your card preferences:
![]()
3. You now see an option to add checklists in your card:
4. Click on the green Plus icon to add a manually created checklist:
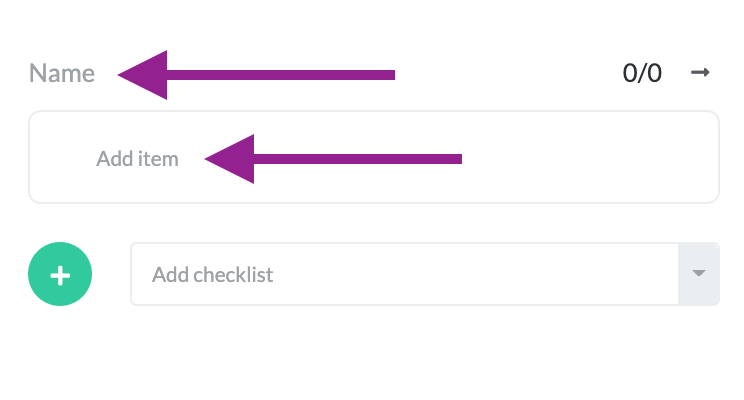
5. Give your checklist a name, and then click on the field below it to add checklist items:
Result:
You can add as many lines as you like. You can also change the order of the lines by clicking on the dots to the right of your checklist line and dragging it up or down.
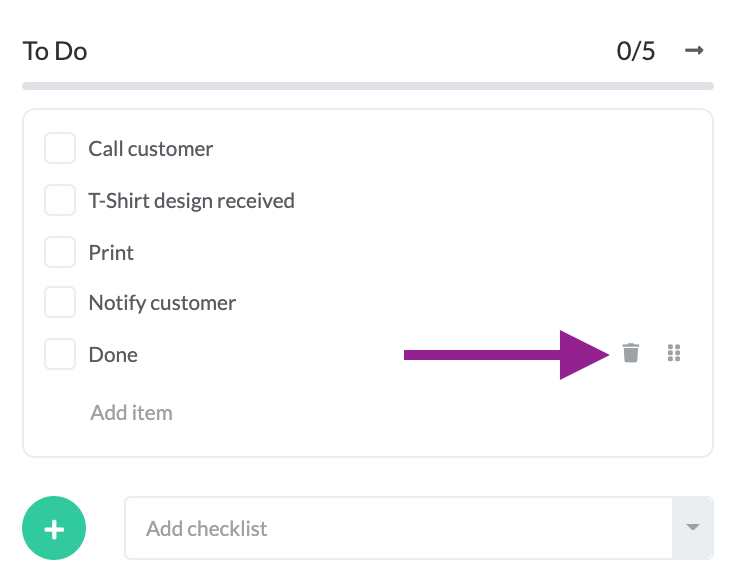
You can delete a line with the bin icon.
6. If you click outside the checklist area, the checklist is saved and cannot be changed.
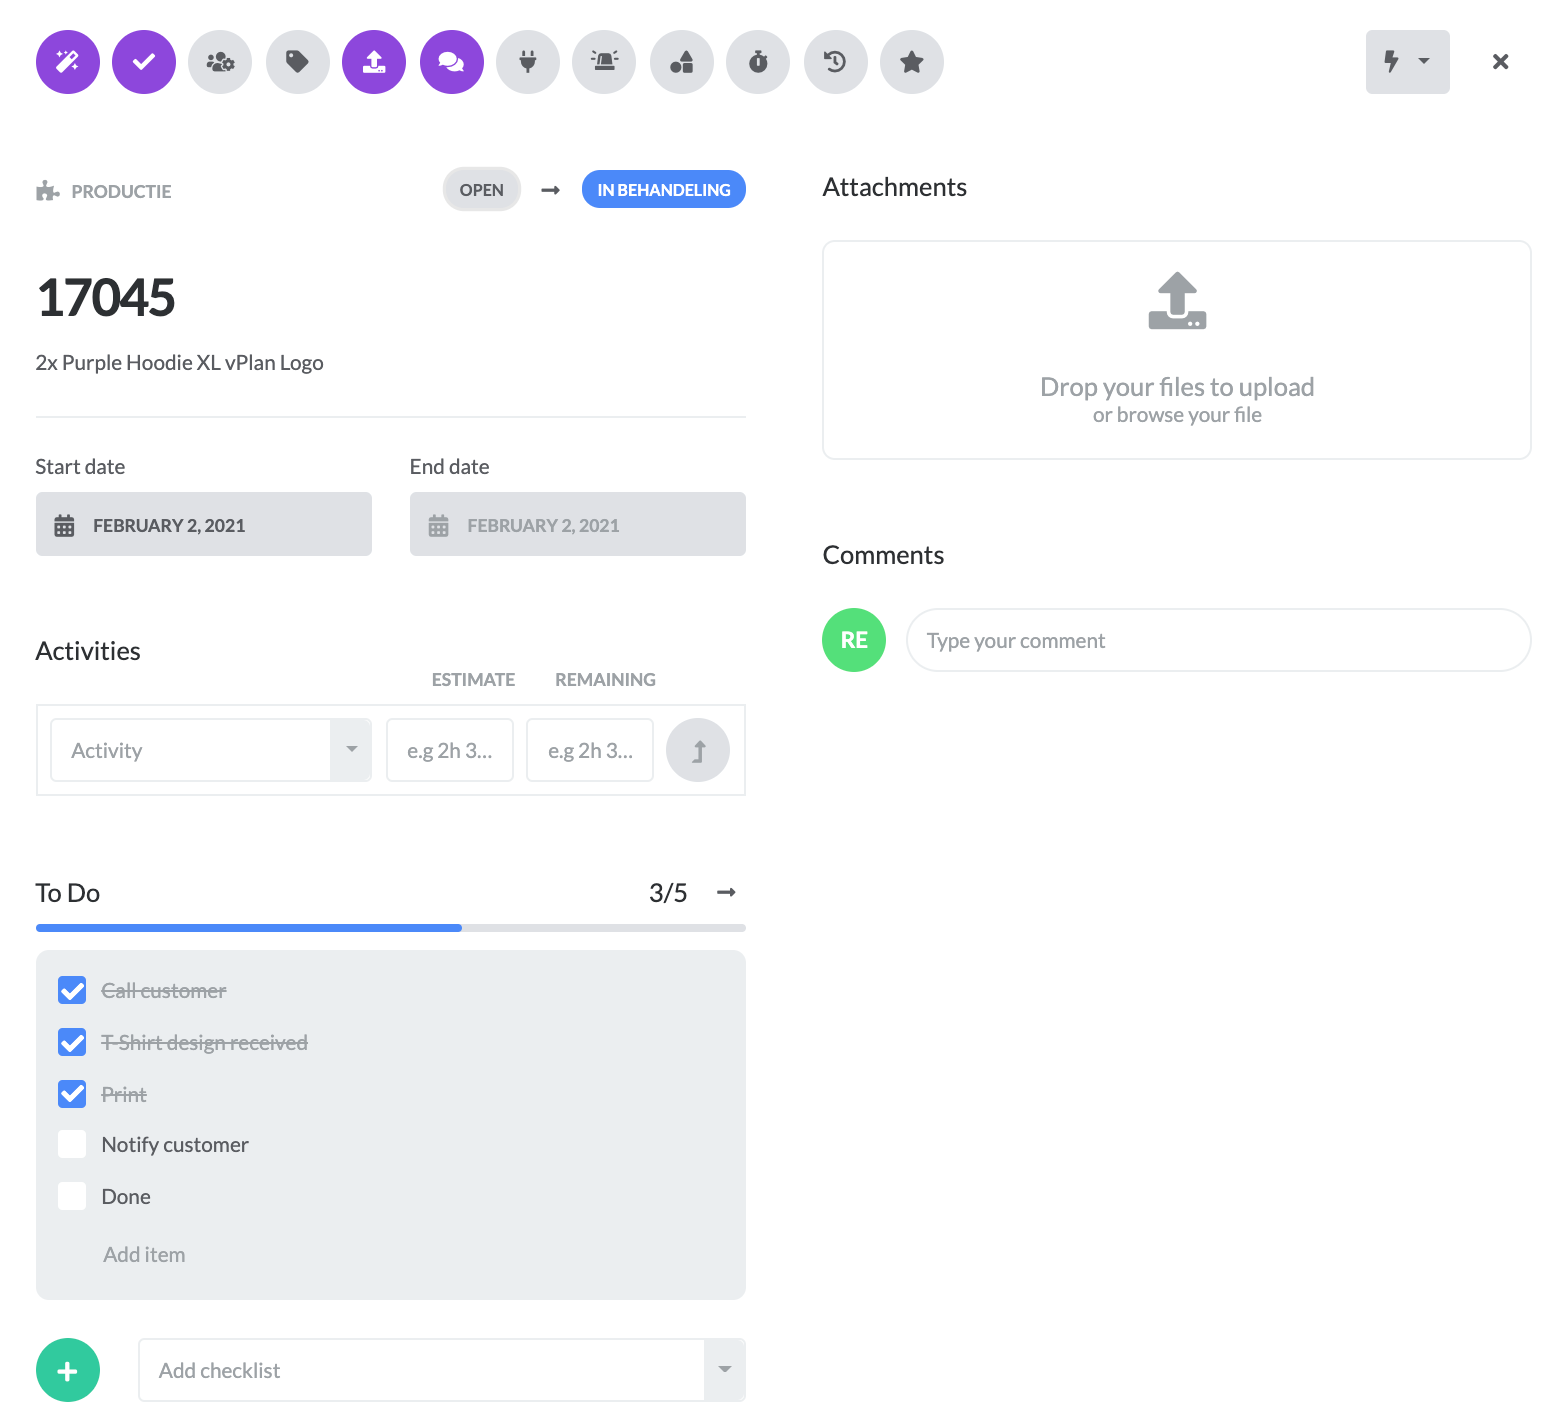
You can now start working on your checklist. Check what you have done and you will see the progress in your checklist.
Tip: If you want to change the checklist, go to the arrow at the top right of the checklist:
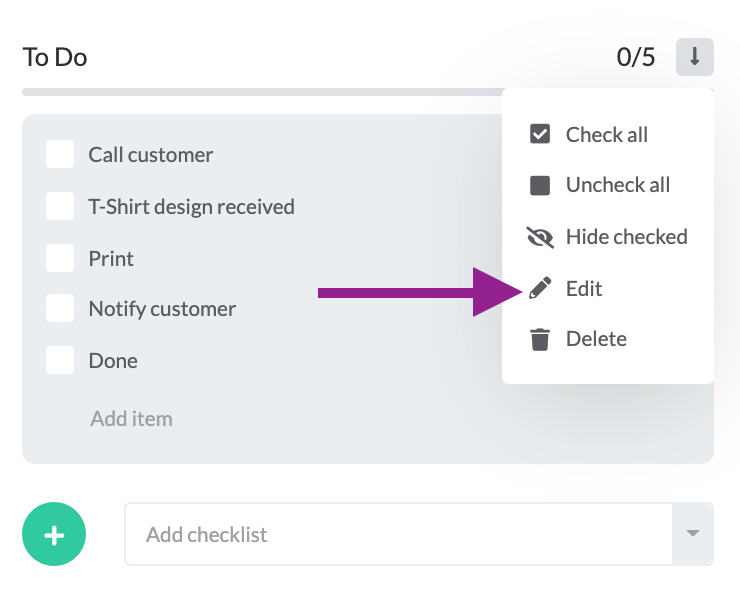
If you click on Edit, you can modify the checklist again or add new entries.
The other options in the checklist menu are explained below:
3. Checklist menu options:
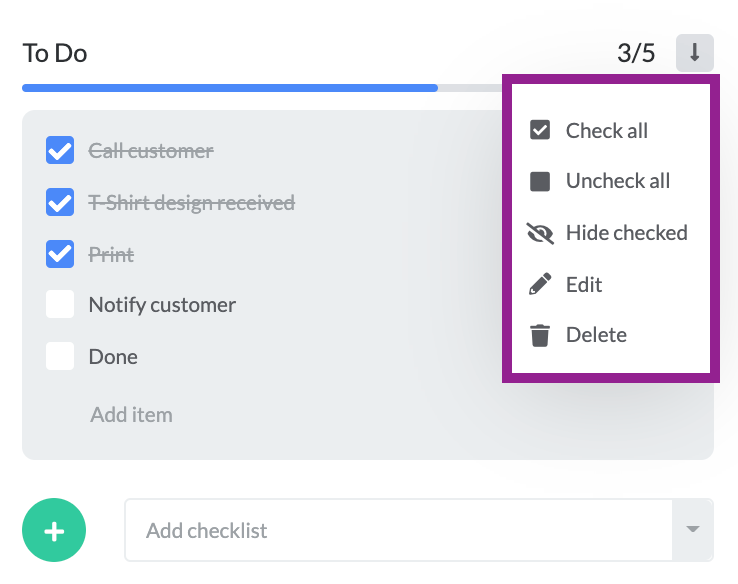
Check all: Causes all checklist entries to be Checked at once.
Uncheck all: Causes all checklist entries to be unchecked at once
Hide checked: Ensures that checked items in the checklist will no longer be shown.
Edit: Allows you to modify the checklist. Add, modify, delete lines or change the title of the checklist.
Delete: Remove the checklist from your card.
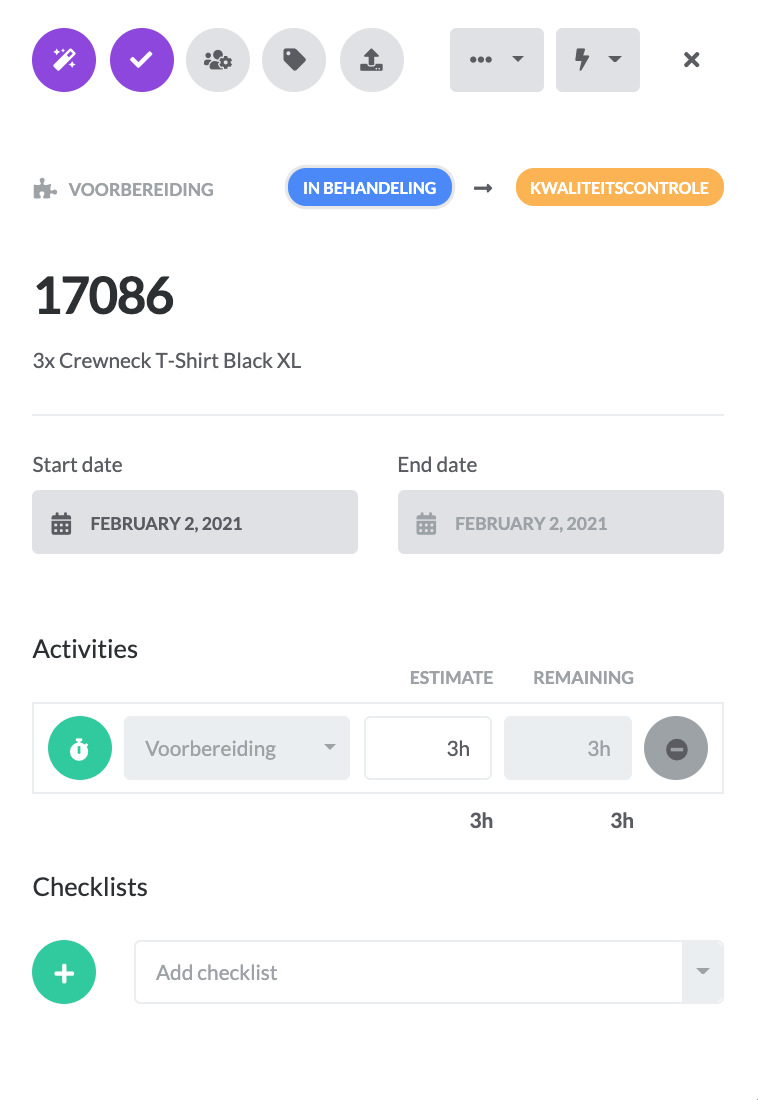
4. Add checklist in list view:
Do you use of vPlan's list view? Then you can follow the progress of your checklists for all planned cards at a glance. You do this by adding your checklists as columns in your list view.

To find out how to add columns to the list view, go to: Adding columns in list view