

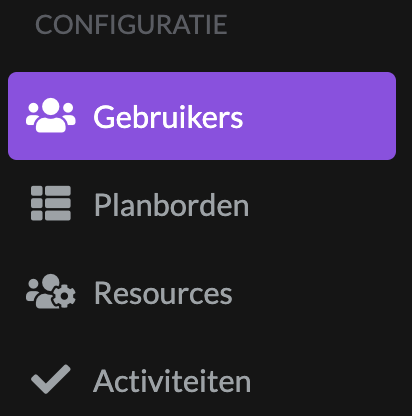
In the section Users under Configuration, you will find the user management.
This overview shows existing users. Via the button add user you can create a new user.

After you have clicked this button, a screen appears in which you have to fill in various data of your colleague, when your colleague is also known in your ERP system, you can click on the box on which colleague you want to add. The data that is included in your ERP system will then be taken over automatically.
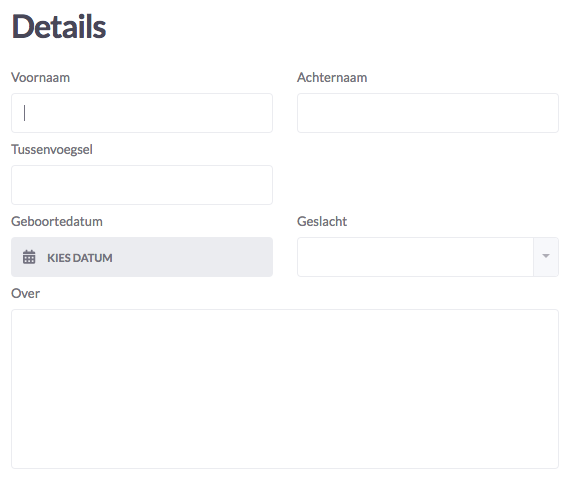
In Details, you fill in your details: first name, last name, date of birth, gender and email.
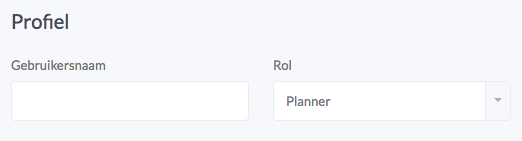
At Profile, you fill in your username and (possibly) role.
PLEASE NOTE: The username must be a minimum of 6 characters and must be unique.
You can give the following roles to your colleague; administrator, planner and employee. Click here to see what operations each role can do on the scheduling board.
You can link the user account to the resource if the user is also a resource on your board. This allows the user to receive an automatic notification when he is assigned as a resource to a ticket, for example.
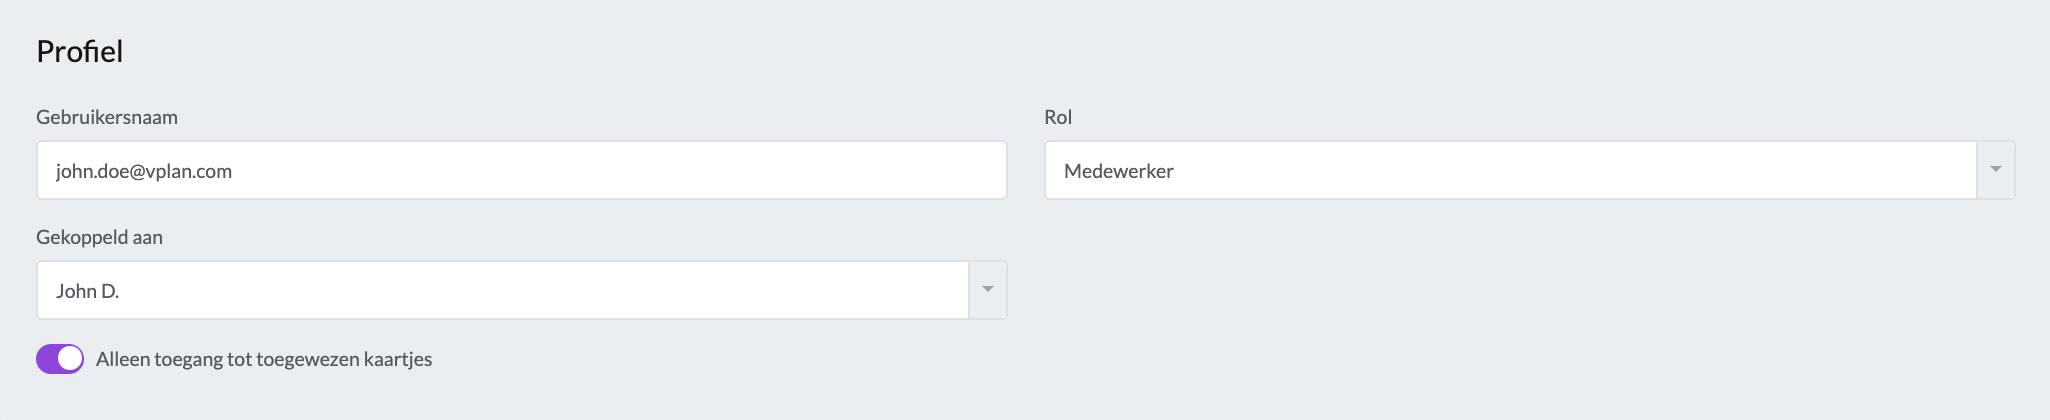
The option Only access allocated cards allows you to ensure that the user only sees cards in the planning that are intended for him/her. This option is not available for the user roles of Planner and Administrator.

After filling in the details, click on the Invite button to invite your colleague. Your colleague will receive an email with the information to complement his account. When this is done, your colleague can also use vPlan. Click here to see how the invited person can activate his/her account, and get started with vPlan as well!