

Time tracking is an important aspect of vPlan. It gives you and your team insight into the progress of your work. You learn from the past and you can anticipate the future.
vPlan has a comprehensive analysis on time estimation and time tracking of completed work.
To make time analysis successful, it is important that time registration can be carried out easily. Fortunately, this is a piece of cake in vPlan!
This article is divided into three parts. Click on the desired section below to continue.
1. Time tracking on activities
2. Time tracking with start/stop system
3. Manually add time
4. Overview of running timers and tracked time
1. Time tracking on activities
Registering time is done on the work you have to do. The tasks you need to do can be found in vPlan Go. You can find them in the Dashboard of the app, or in the task overview. How to easily get insight into your work can be read in the article Dashboard and navigating vPlan Go and the Tasks
1. Open the plan card on which you want to register time.
2. Tap on Activities at the bottom of the page.
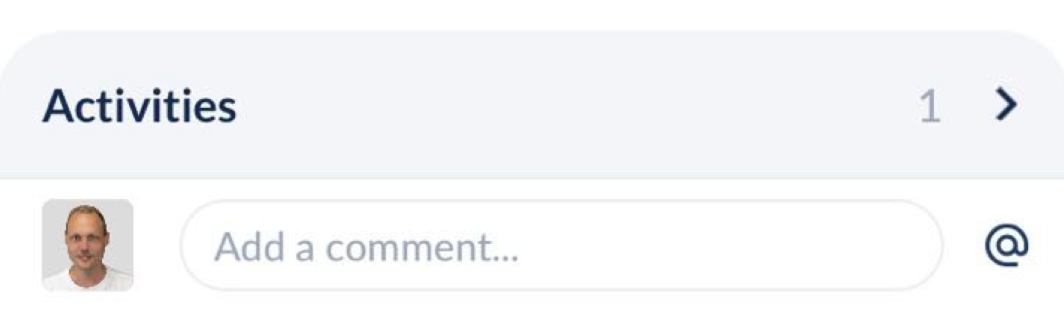
You will now be directed to the activities page. One or more activities are visible on this page. In this screen you can see the estimated time and remaining time for the activity.
2. Time tracking with start/stop system
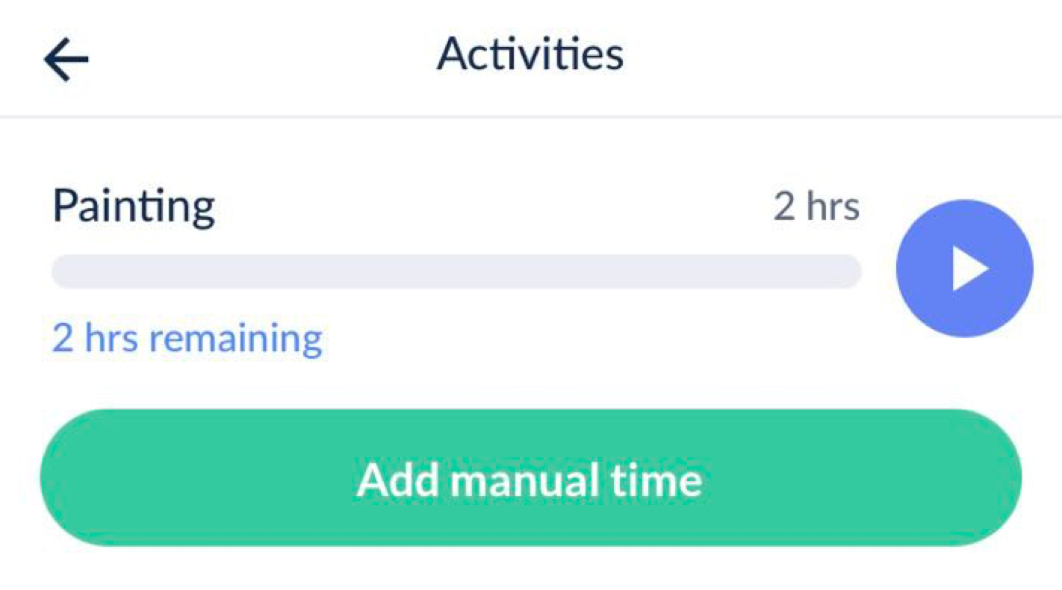
When you want to record time using a stopwatch system, you can press the blue Play button. The time will start running immediately. You will see a clock running live with the elapsed time.
Tip: You do not need to keep the app open while time recording is running. You can close the app and time registration will continue in the background.
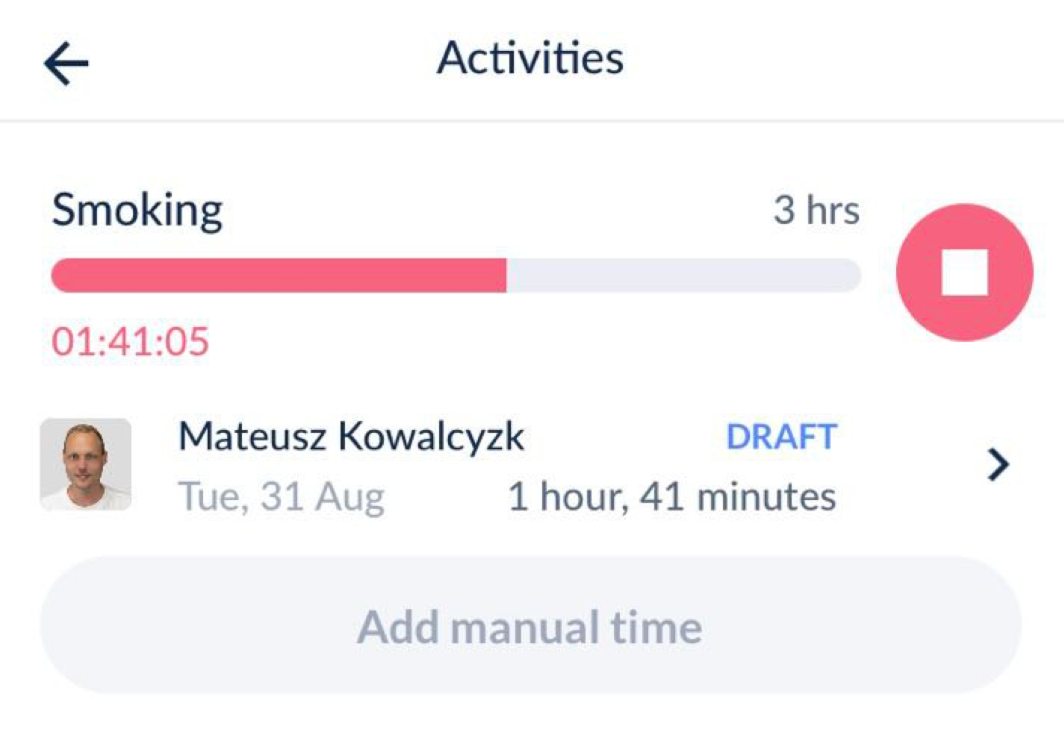
When you have finished your activity, there are two ways to stop the time again.
You can look it up again in your task list, open the activity and click on the Stop button to stop time tracking. The time is saved automatically. However, there is also a quicker way. In the vPlan Go menu bar, all current time entries are listed in the Timers overview.

The red dot with a number in it indicates that there are active timers (in this case 2).
When you click on this menu item, you will be taken to a page where you can see all your current timers.
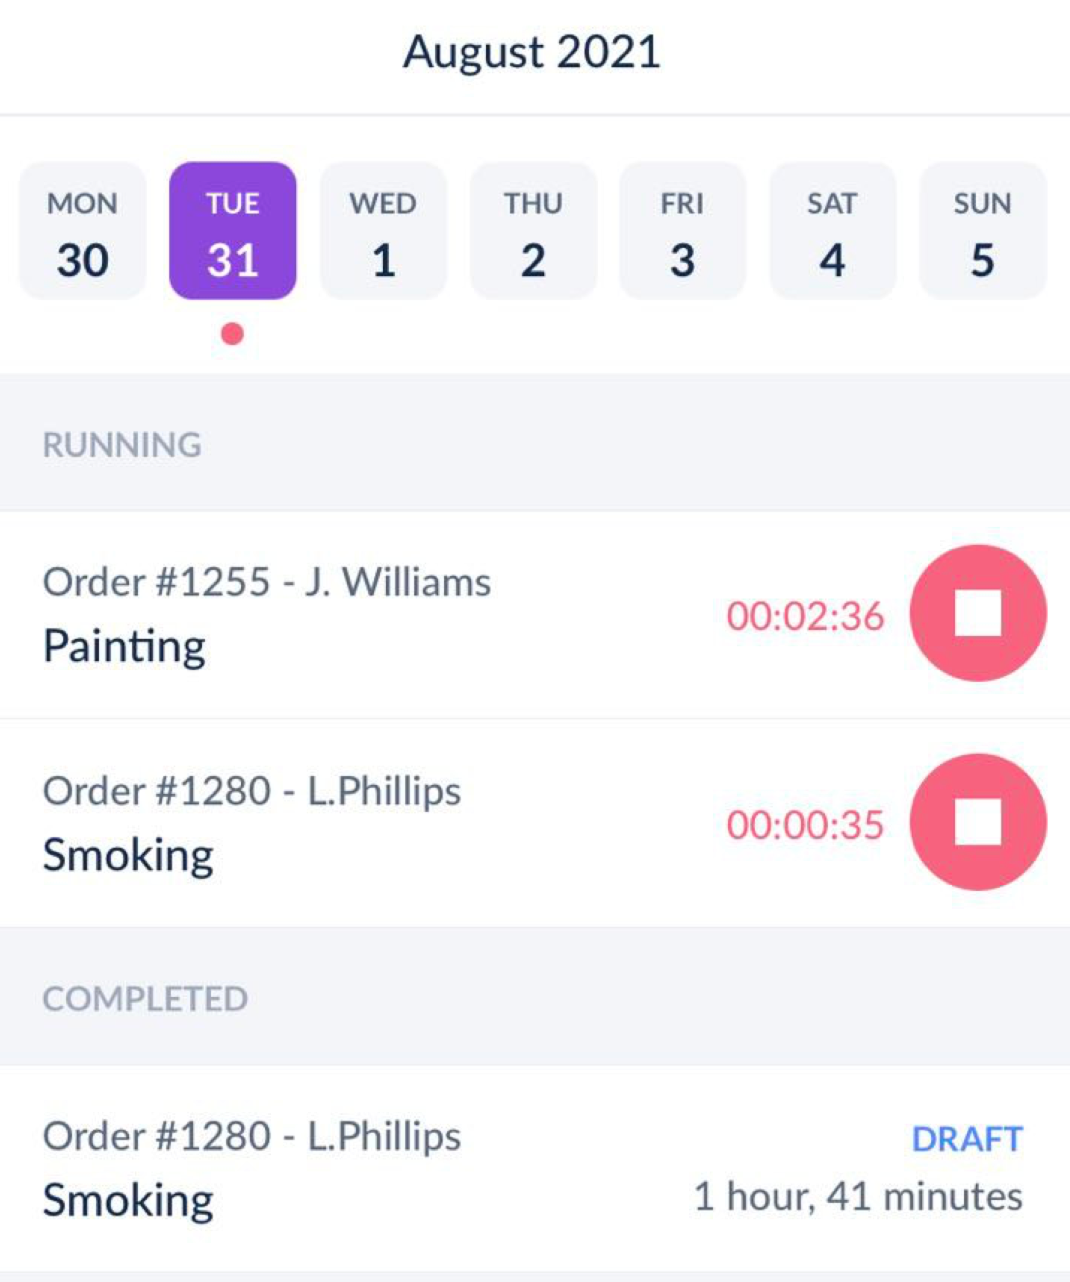
In this overview you can click on the Stop button next to the time tracking to stop and record the time. So you do not have to look up the card in your planning every time to stop the time recording. For this you can go to the overview Timers
3. Manually add time
It can happen to anyone. You've started a task and after a while you realise that you haven't started recording the time. Fortunately, in vPlan Go you can also enter time manually.
To do this, you first have to look up the task in question. The tasks you need to do can be found in vPlan Go. You can find them in the Dashboard of the app, or in the task overview. How to easily get insight into your work can be read in the article Dashboard and navigating vPlan Go and the Tasks
1. Open the plan card on which you want to register time.
2. Tap on Activities at the bottom of the page.
You will now be directed to the activities page. One or more activities are visible on this page. In this screen you can see the estimated time and remaining time for the activity.
Instead of pressing the Play button, press the green Add manual time button. You will now see the following screen:
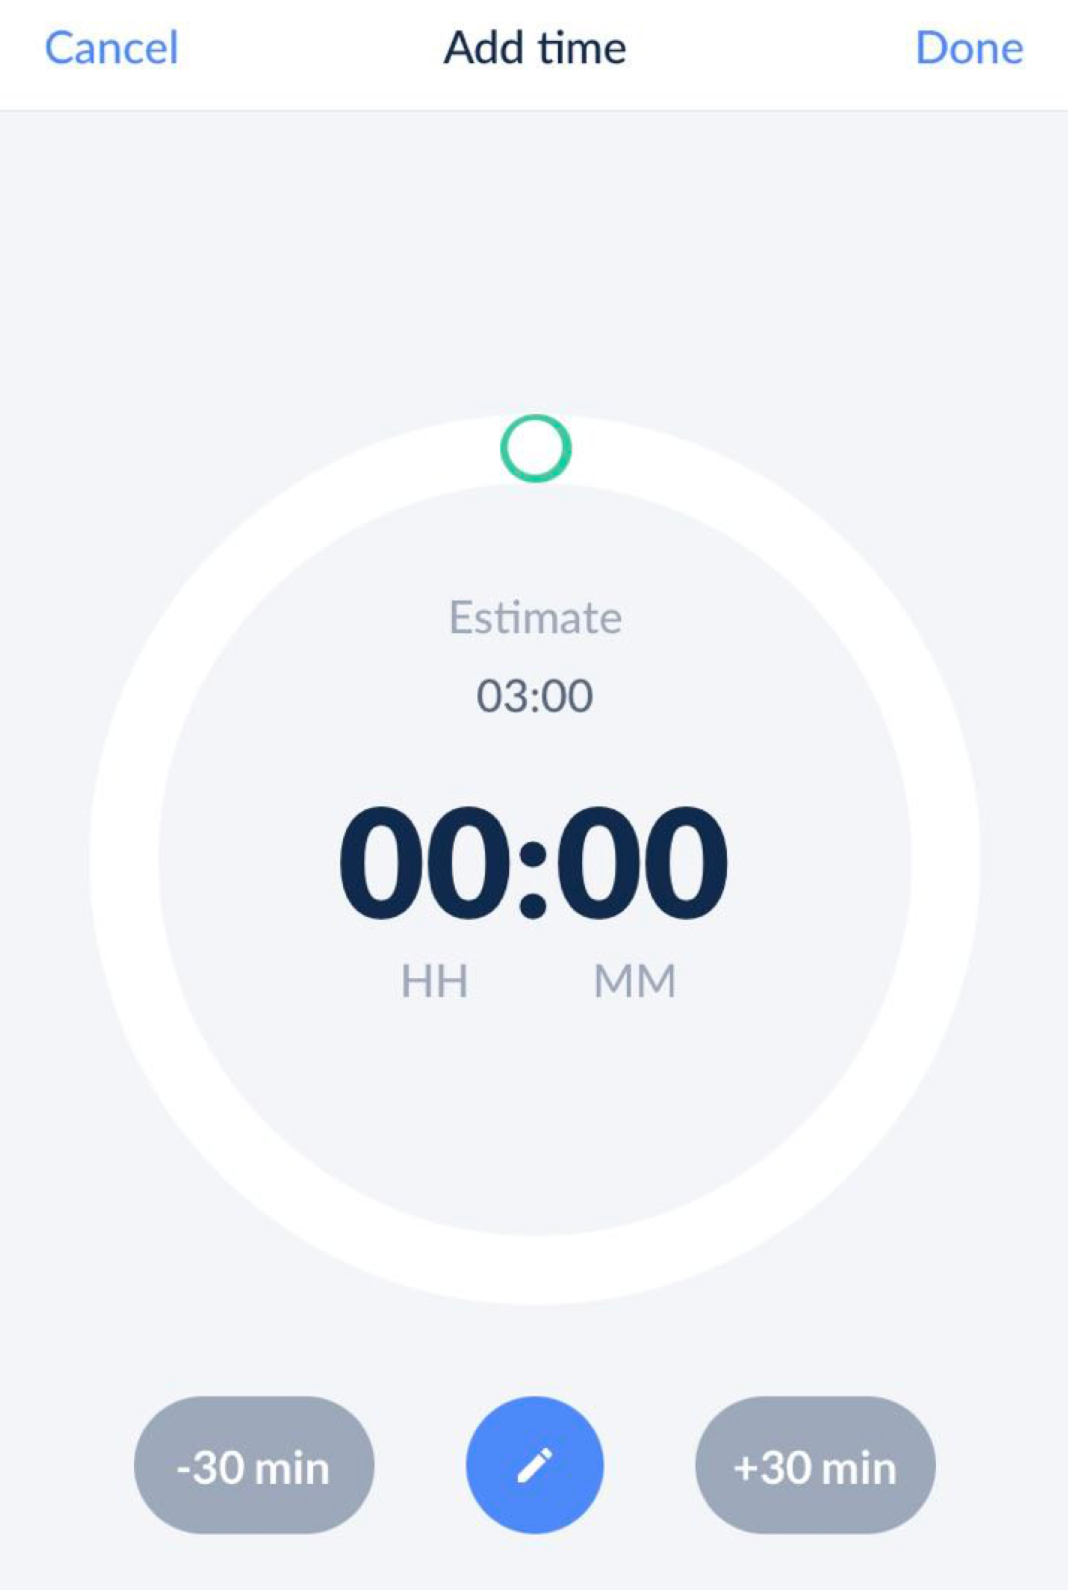
The circle visualises a clock. By placing your finger or thumb on the green circle (which is set to 12 o'clock) and moving clockwise, you manually enter the time.
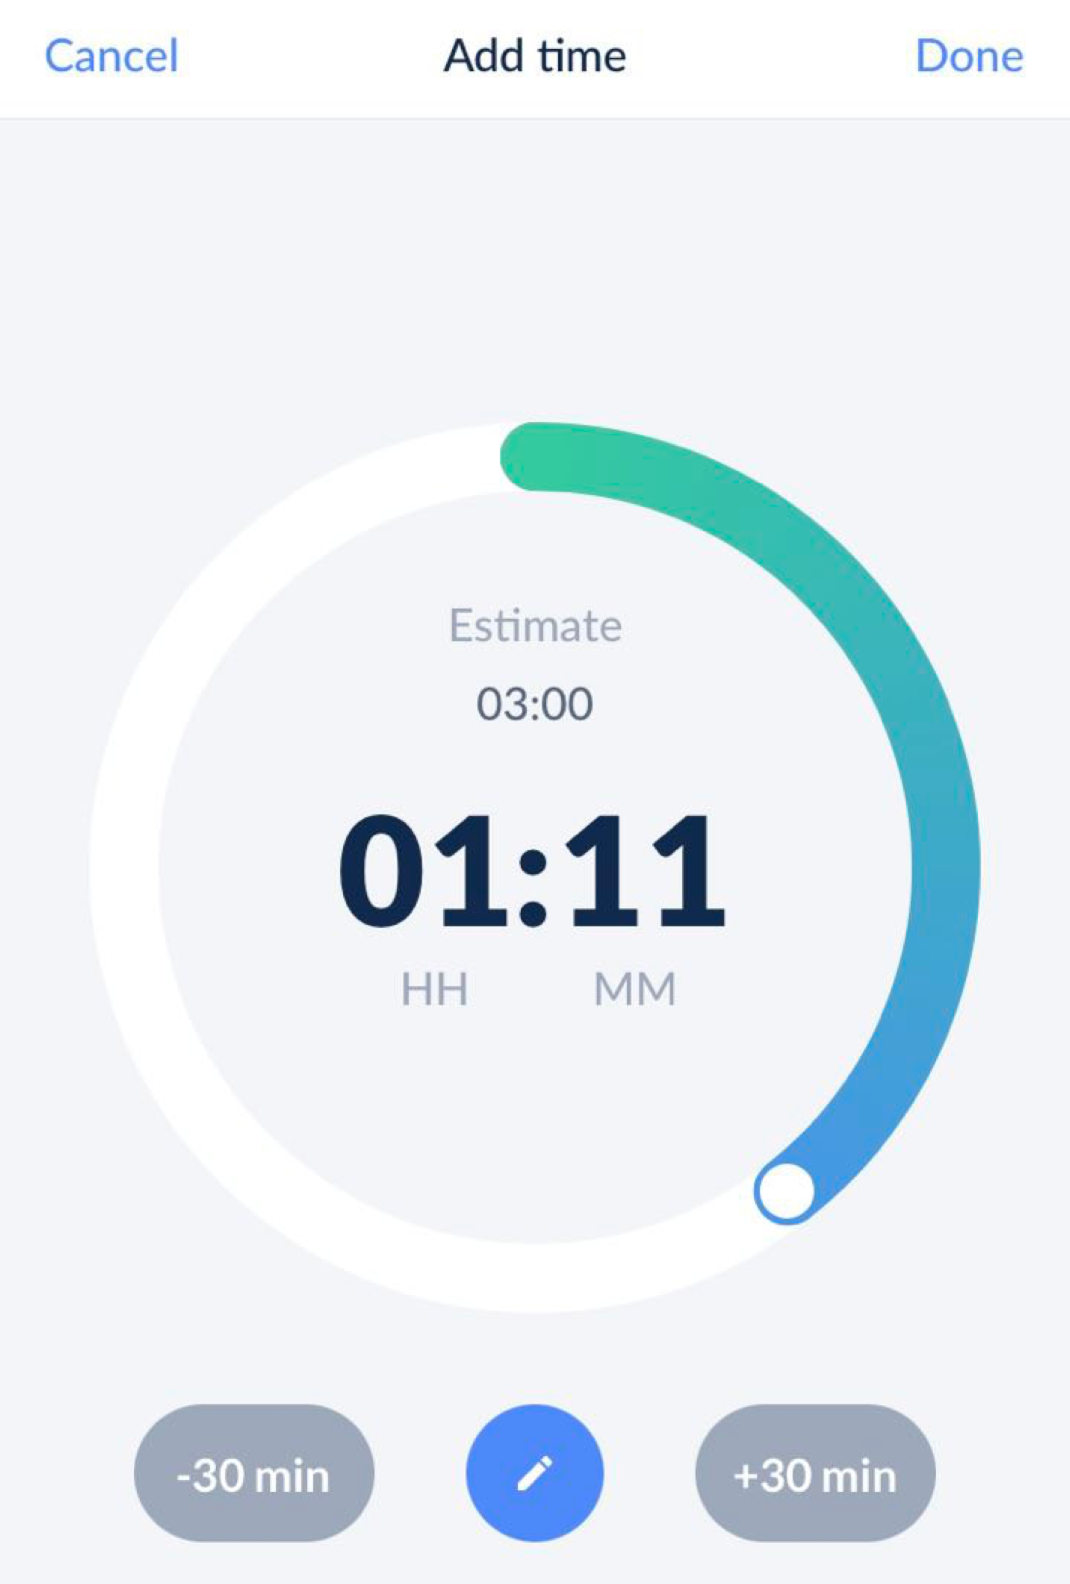
If you don't need to record to the minute, you can also use the grey +30 min or -30 min buttons to easily add half an hour each time you record.
A combination of both methods is also possible.
When you are finished with your time registration, press Done in the top right corner.
If you do not want to work with this clock, you can click on the blue pencil icon in the middle of the page. You will be directed to a form where you can enter your time manually in various ways.
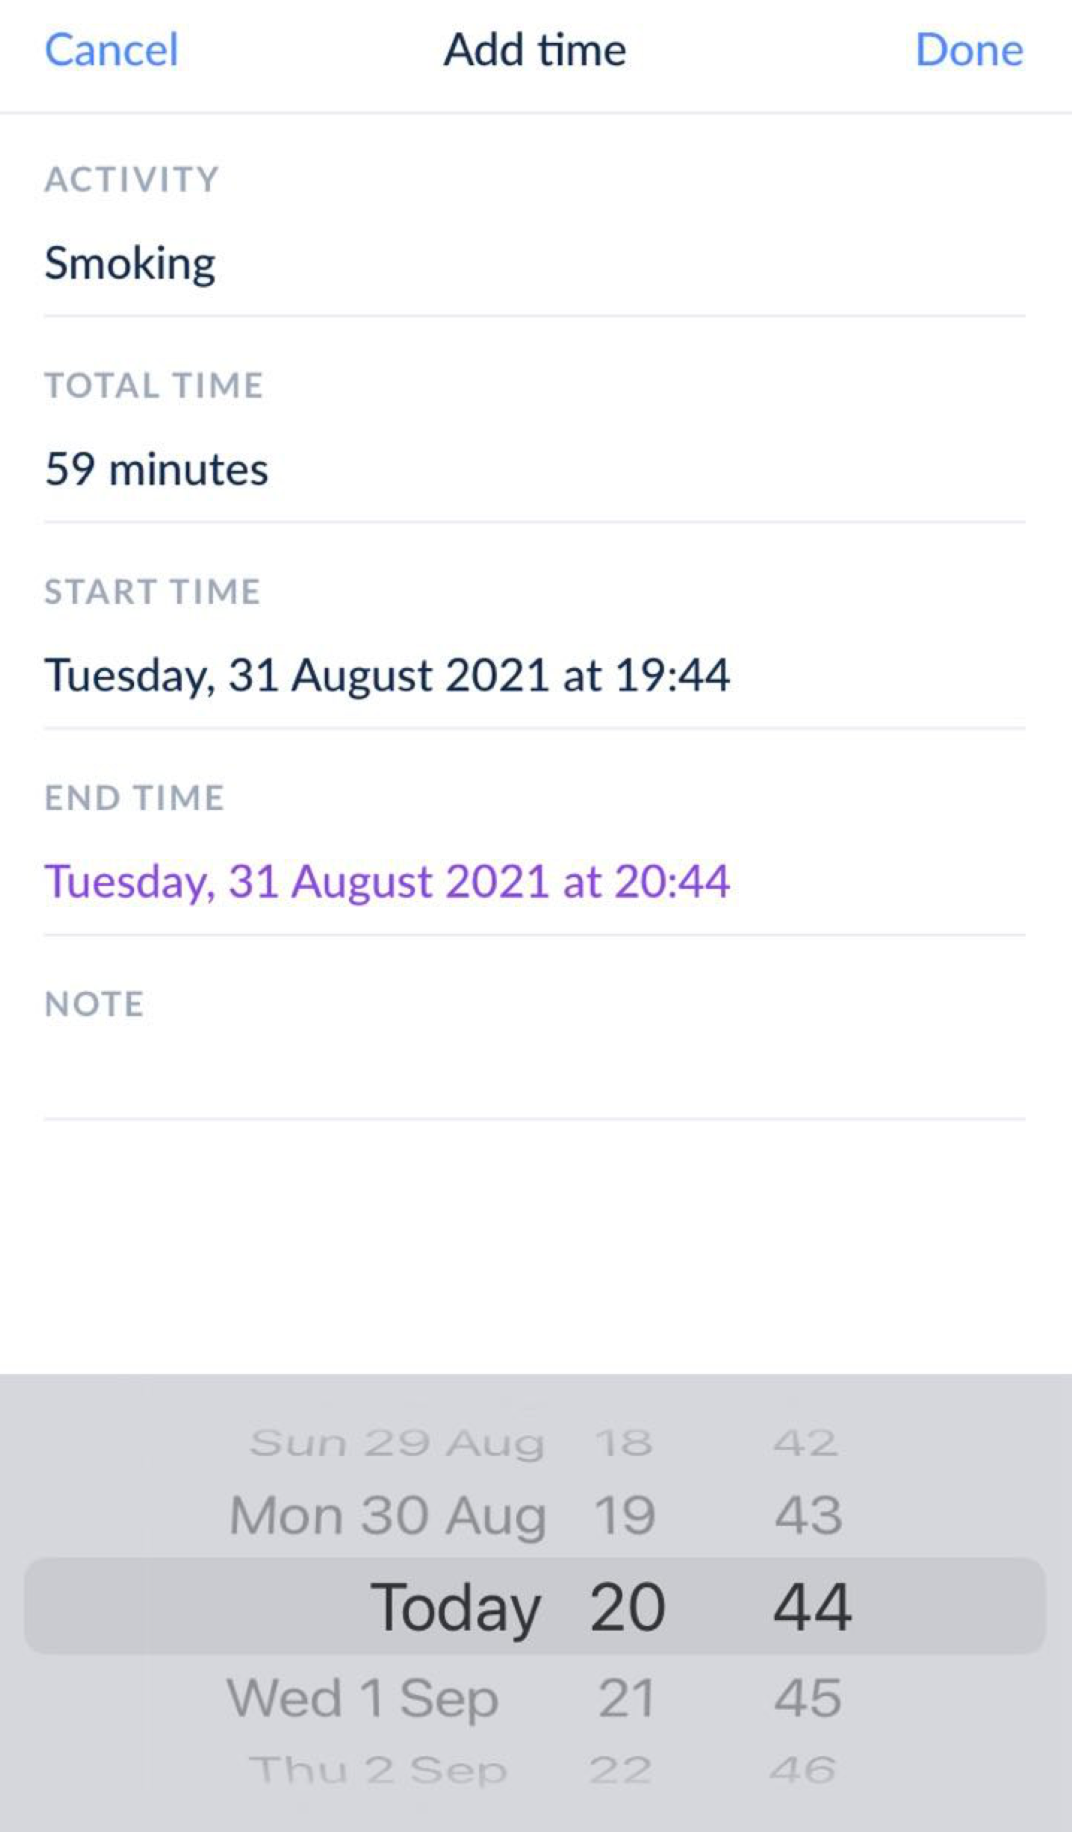
In this screen you can enter time in different ways. When you click on Total time, you can enter a duration manually. However, you can also enter a time span (from / to) by entering your start date and time and end date and time. vPlan calculates the time in between and when you press Done, your time recording is saved.
4. Overview of running timers and tracked time
In de menubalk van vPlan Go worden alle lopende tijdsregistraties bijgehouden in het overzicht Timers.
Het rode bolletje met een getal erin geeft aan dat er actieve timers zijn (in dit geval 2).
Wanneer je op dit menu item klikt, kom je in een pagina terecht waar al je lopende tijdsreigstraties in te zien zijn.
In dit overzicht kun je op de Stop-button klikken naast de tijdregistratie om de tijd te stoppen en vast te leggen. Je hoeft dus niet iedere keer de kaart in je planning op te zoeken om de tijdsregistratie te stoppen. Hiervoor kun je naar het overzicht Timers.
Onder de lopende tijdsregistraties vind je ook eerder geregistreerde tijd. Wil je de tijd aanpassen? Dat kan door bij de geregistreerde tijd op de regel te drukken. Je wordt direct doorgestuurd naar de tijdsregistratie die je al had ingevoerd. Je kunt deze vervolgens wijzigen en opslaan.